
How Is 3D Modeling Done from Technical Drawings?

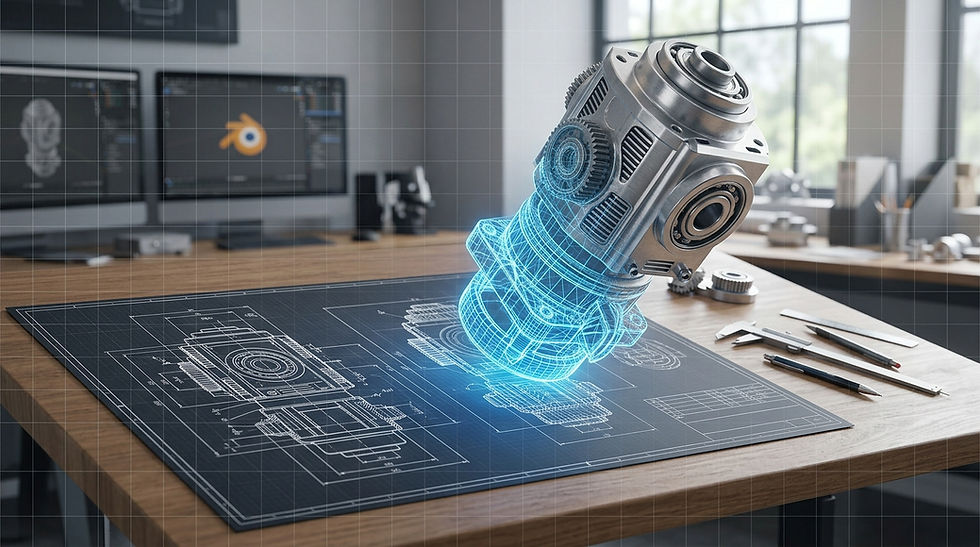
A technical drawing is an important document that defines the dimensions, geometry, and manufacturing details of a product or component in two dimensions. In the 3D modeling process, this information is used to create an accurate three-dimensional digital model.
3D modeling from technical drawings is widely used in product visualization, 3D animation, industrial design, technical presentations, and manufacturing.
So, how is 3D modeling done from a technical drawing? What information is required, and what should be considered during the process?
What Is a Technical Drawing?
A technical drawing is a two-dimensional representation of a product or mechanical component that describes its geometry and dimensions according to specific standards.
A technical drawing may include:
Front, side, and top views
Dimensions
Diameter and radius measurements
Hole dimensions and locations
Angle measurements
Tolerances
Section views
Material information
Assembly details
This information provides the basic reference needed by a 3D artist or modeler to accurately recreate the product in three dimensions.
What Files Are Needed for 3D Modeling from Technical Drawings?
Technical drawings can be provided in a variety of file formats.
Common formats include:
PDF
DWG
DXF
AI
EPS
JPG / PNG
STEP
IGES
CAD formats such as DWG and DXF are particularly useful because they allow dimensions and geometry to be transferred digitally.
However, it is also possible to create a 3D model from a PDF technical drawing, provided that the drawing contains sufficient dimensional information.
The 3D Modeling Process from a Technical Drawing
Creating a 3D model from a technical drawing generally consists of several key stages.
1. Analyzing the Technical Drawing
The first step is to carefully examine the technical drawing.
The 3D modeler analyzes the dimensions, views, sections, holes, surfaces, and overall geometry of the product.
The goal is not simply to turn a 2D drawing into a 3D object, but to correctly interpret all the information contained in the drawing.
For example, the front view alone may not provide enough information to determine the complete geometry of a product. The depth, rear surfaces, and certain details may only become clear from the side or top views.
2. Identifying Dimensions and References
Before modeling begins, the key dimensions in the technical drawing are identified.
These may include:
Overall length
Width
Height
Diameters
Hole spacing
Wall thickness
Radius measurements
Angles
These measurements form the foundation of the 3D model.
Establishing the correct scale at this stage is particularly important. A model created at the wrong scale can cause problems during later visualization, animation, or manufacturing-related processes.
3. Creating the Basic Geometry
The next step is to create the main geometry of the product.
The modeling method depends on the structure of the object. Basic mechanical components may only require simple geometry and extrusion, while complex products may require more advanced modeling techniques.
Depending on the project, techniques such as:
Extrusion
Beveling
Boolean operations
Curves
Subdivision
Cylindrical modeling
Surface modeling
can be used to build the required geometry.
4. Adding Details
Once the main form has been created, the details shown in the technical drawing are added to the model.
These may include holes, channels, connection points, screw mounts, cutouts, recesses, and protruding elements.
For product visualization, small details can have a significant impact on the realism of the final image, especially in close-up shots.
5. Checking the Model
After the modeling process is complete, the 3D model is compared with the original technical drawing.
Important dimensions are checked again to make sure the model matches the supplied technical information.
This step is particularly important for industrial products and technical animations. A model may look visually accurate while still containing dimensional errors.
6. Applying Materials and Surface Finishes
If the model will be used for visualization or animation, the next step is usually to create realistic materials.
Depending on the actual product, the model may require materials such as:
Metal
Plastic
Glass
Wood
Rubber
Fabric
Painted surfaces
Glossy or matte finishes
A technical drawing alone may not provide enough information for accurate material creation. Product photographs or physical references can also be extremely useful at this stage.
Can a 3D Model Be Created Without a Technical Drawing?
Yes, but the answer depends on the purpose of the model.
For a conceptual project where dimensional accuracy is not critical, a 3D model can be created using photographs or visual references.
However, if the model needs to be dimensionally accurate or closely represent a manufactured product, technical drawings, CAD files, or reliable measurements are highly valuable.
Technical data is particularly useful for projects such as:
Industrial product animations
Product demonstration videos
Machinery and equipment visualization
Architectural products
Furniture 3D modeling
Electronic products
Automotive components
Technical product presentations
How Long Does 3D Modeling from a Technical Drawing Take?
The time required depends on the complexity of the product.
A simple product with basic geometry may be modeled within a few hours, while a complex product with multiple components or detailed surfaces may take several days.
The main factors affecting the modeling time include:
Geometric complexity
Number of components
Level of detail in the technical drawing
Availability of complete dimensions
Organic or hard-surface geometry
Required modeling quality
Level of detail required for animation
Material and texture requirements
For this reason, estimating a 3D modeling project requires looking beyond the product's overall appearance and considering its technical complexity as well.
Technical Drawing vs. Photographs for 3D Modeling
Technical drawings and photographs provide different types of information for 3D modeling.
A technical drawing is generally a more reliable reference for dimensions and geometry.
A photograph, on the other hand, provides valuable information about the product's actual surface, materials, colors, and visual details.
For high-quality product visualization projects, using both sources together can therefore provide the best results.
For example, technical drawings can be used to establish the correct dimensions, while product photographs can help recreate materials, colors, and surface details more accurately.
How Should a Technical Drawing Be Prepared for 3D Modeling?
For a technical drawing to be used effectively for 3D modeling, it should be as clear and complete as possible.
Ideally, the drawing should include:
Multiple views of the product
Overall dimensions
Dimensions of critical areas
Hole and connection locations
Section views where necessary
Scale information
Clearly specified measurement units
If important information is missing, assumptions may need to be made during the modeling process. This can result in a 3D model that differs from the actual product.
Where Is 3D Modeling from Technical Drawings Used?
3D models created from technical drawings can be used across many industries and applications.
They are especially valuable for 3D animation and product visualization, where technical drawings can serve as the foundation for creating accurate digital assets.
The resulting 3D models can be used for:
Product animation
3D product visualization
Advertising videos
Technical animations
Exploded-view animations
Product launch videos
Website 3D visualization
AR / VR applications
3D Modeling from Technical Drawings with Pixel Fabrikası
At Pixel Fabrikası, we create 3D models, 3D visualizations, and 3D animations based on technical drawings, CAD data, product photographs, and other available references.
3D models created from technical drawings can be prepared not only for static product images but also for product animations, technical presentations, and other visualization projects.
If you have a technical drawing, CAD file, or product references, the 3D modeling workflow can be planned according to the specific requirements of your project.
Conclusion
3D modeling from technical drawings is the process of transforming two-dimensional technical information into an accurate three-dimensional digital model.
Achieving a successful result requires more than simply knowing how to use 3D modeling software. Understanding technical drawings, correctly interpreting dimensions, and accurately analyzing product geometry are equally important parts of the process.
Especially for product visualization, industrial animation, and professional 3D rendering projects, a technical drawing can provide one of the most reliable foundations for creating an accurate 3D model.


Comments